
Tattoo Stencil Maker
Free stencil drafts for clean designs and lettering. No sign-up. Original images stay on your device.
Best for clean line art, lettering and high-contrast sketches.
Drop or paste an image · PNG, JPG, WEBP · up to 20 MB
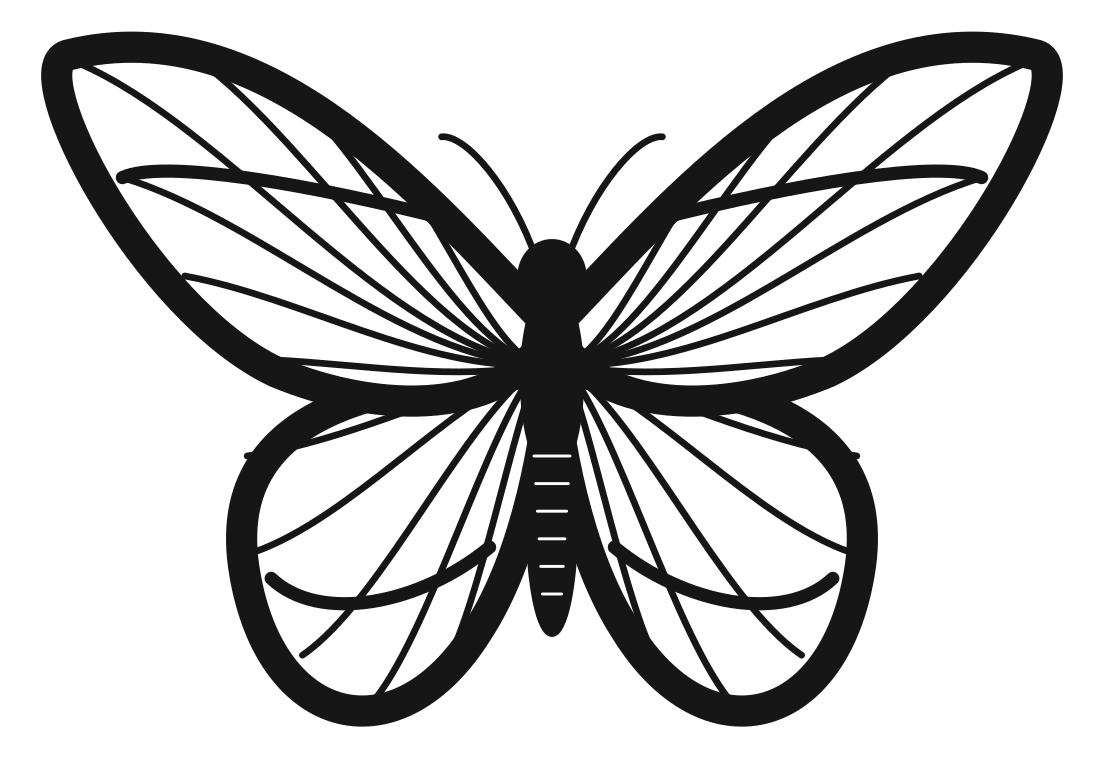 Loading 3D model…
3D study of this stencil. Uploads stay 2D.
Stencil draft — have your artist review and refine it before use.
Prepare a clean design, lettering or a high-contrast sketch as a stencil draft for your artist. Compare the result with your original, adjust the lines, and export a PDF at your chosen size. Image processing happens on your device, with no sign-up. Portraits, blurry photos and tattoos photographed on skin need more cleanup than this free tool provides.
How to make a tattoo stencil
1. Add your design
Choose a PNG, JPG or WEBP, paste an image, or take a photo of a high-contrast sketch. You can also bring lettering from our Font Generator or a design preview from the AI generator using Make a stencil. Clean lines against a plain background are the best starting point. Keep your original nearby: the draft is a way to inspect and prepare your idea, not a replacement for an artist’s judgment.
2. Choose a stencil style
Keep existing lines for lettering and clean line art. For an illustration with shading, try Extract illustration outlines. Clean outline favors strong contours; Outline + shading adds dots as a dark-area reference. Fine line reduces stroke weight, while Bold traditional thickens existing lines and retains solid dark areas. These settings process the image you provide. They do not redraw the subject or understand which marks your artist would choose.
3. Adjust the lines
Use the five line-width and detail levels, then zoom in and compare the original. Check spelling, small openings and places where lines meet. Erase stray marks or draw a missing connection; Undo and Redo let you check each change. Brush edits stay in the original image’s coordinates when you mirror the result. More adjustments includes inversion, darker lines and background removal. Your original image stays unchanged, so you can always compare again.
4. Print at real size
Enter a width in centimeters or inches. The height follows the original proportions, and the tile preview shows how many sheets the design needs. Download the print PDF, select the matching paper in your print dialog, and choose 100% or Actual size. Measure the calibration squares before relying on the output size. Ordinary paper is useful for checking scale and discussing the design; skin transfer needs suitable supplies and your artist’s process.
Compare placement on your own photo with Virtual tattoo try on before preparing the print size with your artist.
Print it the right size
Check the calibration square
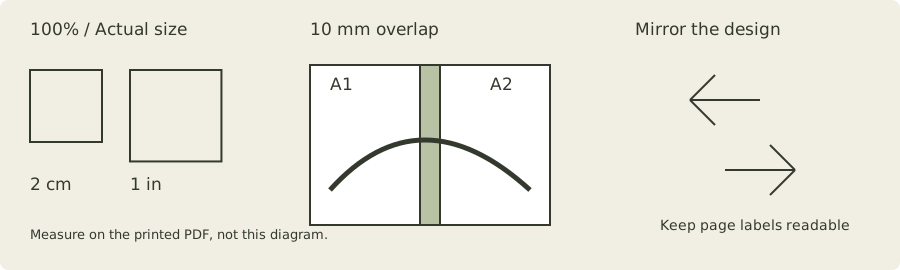
The first PDF page includes a 2 cm square and a 1 inch square outside the design area. Measure their edges with a ruler after printing. If either is the wrong size, turn off Fit to page and check the selected paper size and printer settings. A correctly sized PDF can still be resized by a printer driver. The squares check that step; they do not certify the design or the transfer.
Large pieces: print in tiles
A design larger than the paper’s usable area is split into pages without resizing the artwork on each page. Follow the row and column labels: A1 next to A2, then B1 below A1. Adjacent tiles repeat a 10 mm strip of the same design. Trim the top and left blank margins at the dashed border on each incoming tile, then match the shared crosses and repeated lines before taping. Keep the pages flat while checking the assembled width with your ruler, and bring the draft to your artist.
Thermal printers and mirroring
The 58 mm and 80 mm presets describe the paper width, with safe margins and 297 mm segments for long pieces. Your printer may have a narrower printable area, so check its instructions. Choosing a thermal preset turns mirroring on; you can switch it off. Only the design flips, leaving measurements and page labels readable. Many transfer workflows need a mirrored design, but the correct choice depends on the printer and your artist’s method.
Stencil styles
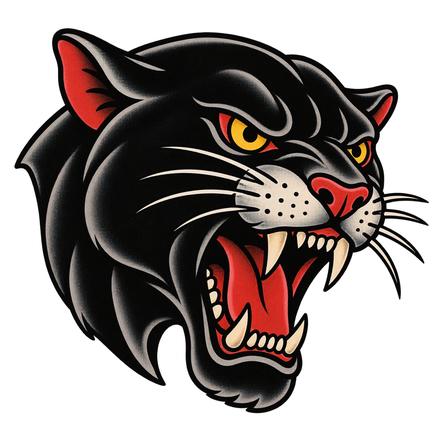
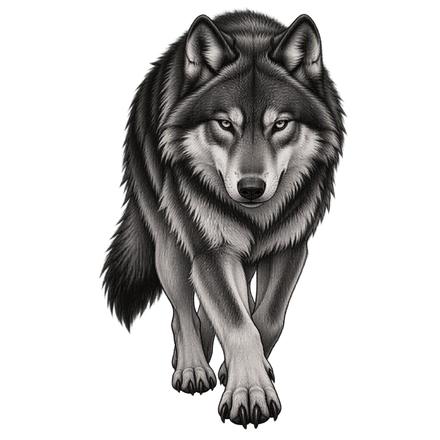
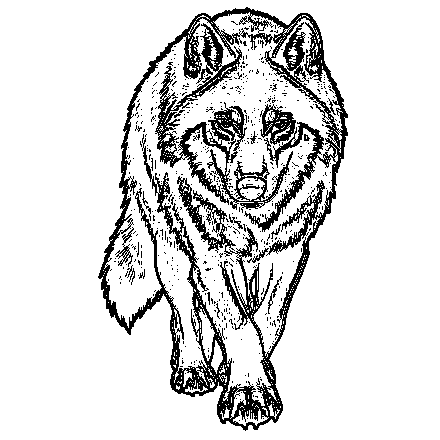
These examples were produced by this tool from the same site illustration, using Extract illustration outlines. They show the actual differences between presets. Compare the result with your own source, especially around eyes, lettering and narrow gaps. More detail can preserve useful marks but also retain noise. Thickening may connect lines that should stay apart. Pick the most useful starting point and make small corrections before exporting a draft for review.
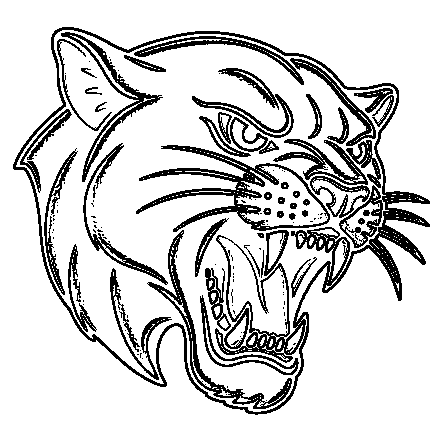
Keep strong lines and lettering.
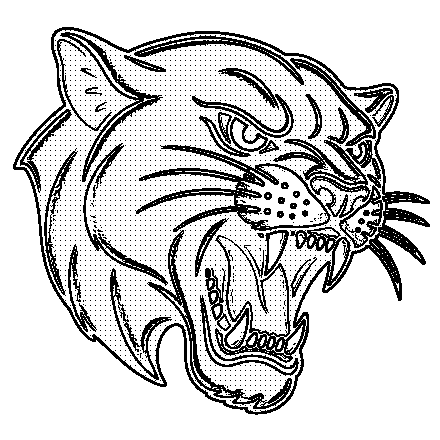
Add dots as a dark-area reference.
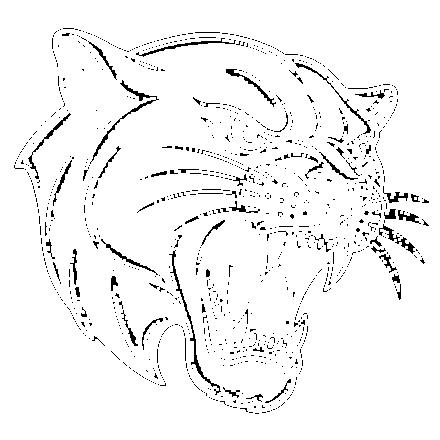
Thinner lines; inspect small details.
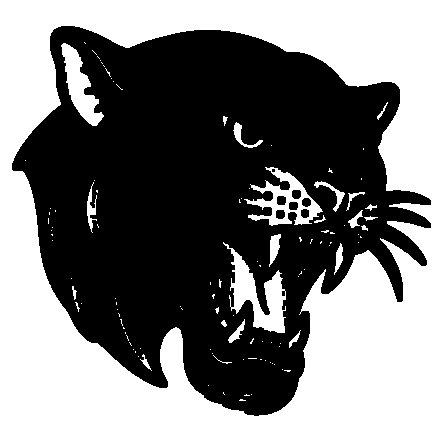
Thicker lines and solid black areas.
What works best
Clean lettering and high-contrast line art preserve their shapes most reliably. Simple illustrations can give a useful outline, although shadows may create unwanted marks. Fur, blurry photos, portraits and tattoos photographed on skin can lose important details or create distracting lines. This tool does not reconstruct missing detail or remove the effects of curved skin. Use the original overlay to judge the result. Optional AI cleanup is a waitlist only, with no promised release date.
Use your own designs
Use a design you made or an image you have permission to adapt. Another artist’s finished tattoo is not automatically a reusable stencil. If you like its style, ask the artist about a new piece or create an original reference to discuss together. Keep authorship and permission in mind when you bring images to an appointment. The tool prepares a draft; your artist decides what can be adapted, refined and used for your tattoo.
Need a design first?
Describe an original idea in the AI tattoo generator, or use the tattoo font generator for exact lettering.
Questions
How can I create my own tattoo stencil?
Add a clean design or lettering, compare the stencil draft with your original, then export a PDF at your chosen size. Print at 100%, measure the calibration square, and have your artist review the draft before use.
Is this tattoo stencil maker free?
Yes. It runs in your browser with no sign-up and no limits.
What program do tattoo artists use to make stencils?
Many artists trace by hand or prepare lines in drawing apps such as Procreate or Photoshop, then print on a thermal printer. This tool gives you a quick first draft your artist can refine.
Do I need to mirror my stencil?
Often, for thermal transfer, so the design reads the right way on skin. Mirroring is on by default for the thermal presets — check with your artist.
Can I print a large stencil on A4 or Letter paper?
Yes. Set the real width and the PDF splits the design into tiles with overlap and alignment marks, so the pages line up without gaps.
Is my image uploaded?
No. Your image is processed on your device and never uploaded. The only exception is optional: if you ask us to email you the stencil PDF, we upload that PDF (not your original image) to send it and delete it after 24 hours.
Can I turn any tattoo photo into a stencil?
Not reliably with this free tool. It works best with clean line art, lettering and high-contrast sketches. Portraits, blurry photos and tattoos photographed on skin may lose important details or produce unwanted lines. Use your own designs or images you have permission to use.
Design reference to discuss with your artist — not a final tattoo or healed result.